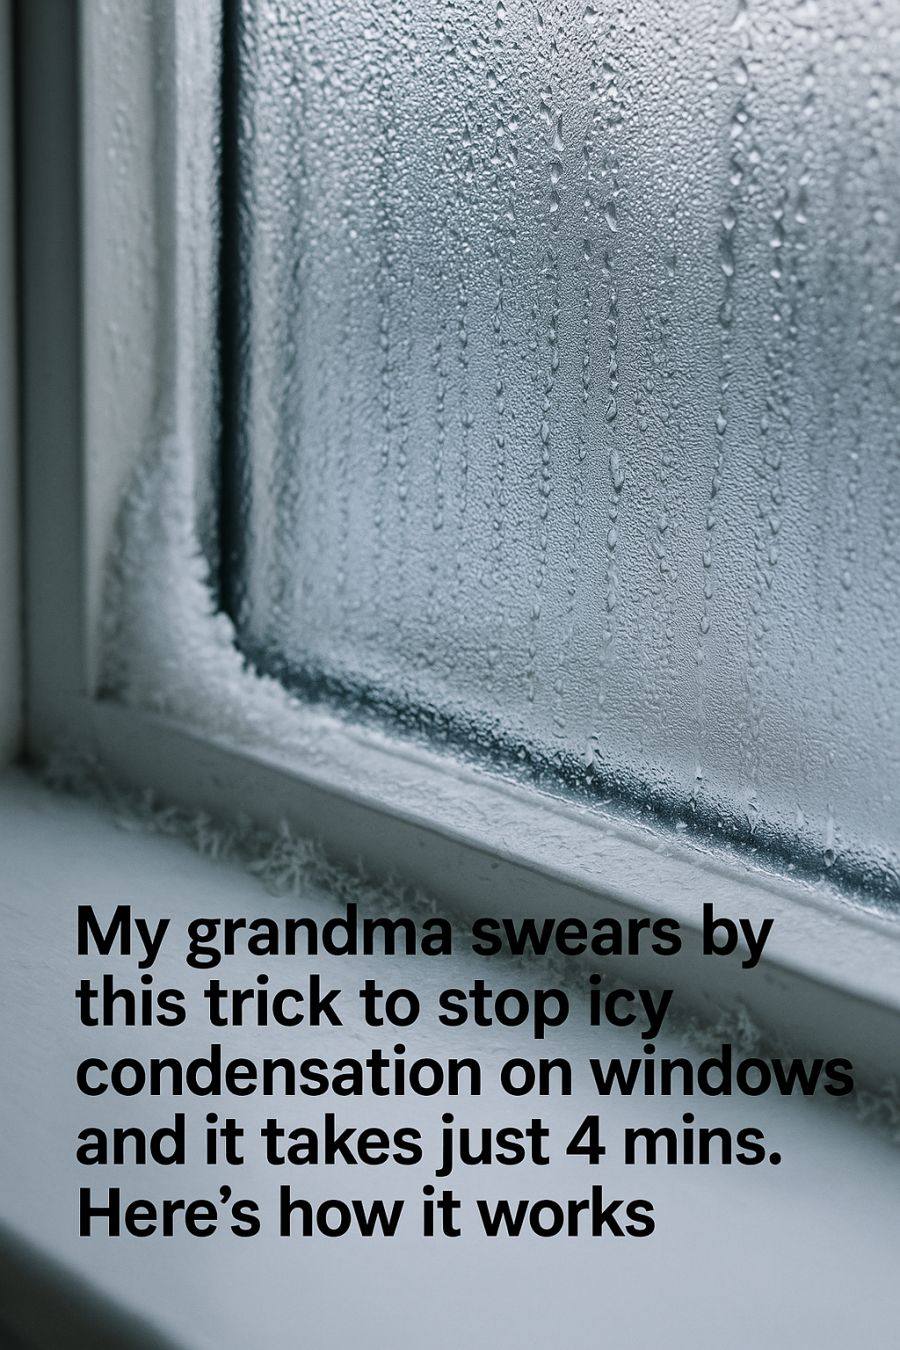
As winter approaches, many of us begin to dread the inevitable icy condensation that forms on our windows. Not only does it obstruct our view, but it can also lead to mold growth and damage to window frames. For years, countless homeowners have battled with this issue, often resorting to expensive solutions or ineffective methods.
However, my grandma, with her decades of experience, has always had a simple yet effective trick up her sleeve to combat this winter woe. This quick and easy method takes just four minutes and requires nothing more than common household items. In this article, I’ll share her secret and explain why it works so well.
Advertisement
1. Why Winter Windows Turn Into Icy Condensation Traps
During the winter months, the ambient temperature outside drops significantly, while the warm air inside your home remains humid. When this warm, moist air comes into contact with the cold surface of a window, it cools and condenses into water droplets. If the temperature is low enough, these droplets can freeze, forming an icy layer. This phenomenon is particularly prevalent in older homes with single-pane windows, which lack the insulation properties of modern double or triple-pane windows.
The problem is exacerbated in rooms with poor ventilation, as the humidity levels tend to be higher. Activities like cooking, showering, and even breathing contribute to indoor humidity. For instance, a family of four can add up to 12 liters of moisture to the air each day just through daily activities. Without proper ventilation, this moisture-laden air continuously condenses on cold surfaces, creating those pesky icy windows.
2. The Old-School Trick My Grandma Swears By
My grandma’s trick is deceptively simple: she uses a common household item—shaving cream. Yes, the same stuff you use to shave. Shaving cream contains stearic acid, which forms a protective barrier on surfaces, preventing moisture from settling and freezing.
She applies a thin layer of shaving cream to the window pane and then buffs it away with a clean, dry cloth. This leaves behind an invisible coating that prevents condensation. The effectiveness of this method lies in its simplicity: no need for fancy gadgets or chemicals, just a can of shaving cream and a few minutes of your time.
3. What You Need: Simple Household Items Only
To try this trick for yourself, you’ll need just two items: a can of shaving cream (preferably the foamy kind, not the gel) and a clean, dry cloth. It’s essential to use a non-gel shaving cream because the gel versions don’t contain the same amount of stearic acid, which is crucial for creating the moisture barrier.
These items are probably already in your bathroom, making this hack both convenient and cost-effective. There’s no need to buy anything extra or special, keeping the process as simple as possible.
4. The 4-Minute Step-By-Step Method
Here’s how you can replicate my grandma’s method in just four minutes:
1. Start with clean windows. If they’re dirty, wipe them down with a damp cloth and let them dry completely.
2. Shake the can of shaving cream well and apply a small amount (about the size of a golf ball) onto your hand or directly onto the window.
3. Spread the shaving cream evenly across the entire window pane using your hand or a cloth.
4. Allow it to sit for about a minute, then buff it off with a clean, dry cloth until the glass is clear and streak-free.
The result should be a clear window with an invisible layer of protection against condensation.
5. The Science Behind How This Trick Stops Condensation
The key ingredient in shaving cream that makes this trick effective is stearic acid. Stearic acid is a type of saturated fatty acid that acts as a surfactant—a substance that reduces surface tension. When applied to a window, it creates a thin, invisible film that repels water.
This film prevents moisture in the air from settling and condensing on the window surface, effectively keeping it clear and free of ice. It’s a simple example of using chemistry to solve a common household problem, providing a barrier that moisture cannot easily penetrate.
6. How This Hack Compares To Viral TikTok Window Fixes
In recent years, TikTok has become a hub for DIY tips and tricks, offering a plethora of solutions for window condensation, from using salt to absorb moisture to applying plastic film for insulation. While some of these methods can be effective, they often require more time, effort, or materials.
My grandma’s shaving cream trick stands out due to its simplicity and speed. It doesn’t require any special purchases or extensive setup, making it an attractive option for those looking for a quick fix without the hassle.
7. Where It Works Best: Rooms, Window Types, And Climates
This trick is particularly effective in bathrooms and kitchens, where humidity levels tend to be higher due to activities like showering and cooking. It’s also beneficial for single-pane windows, which are more prone to condensation than their double-pane counterparts.
While it works in most climates, the trick is especially useful in colder regions where temperatures frequently drop below freezing, making window icing a common issue. However, it’s important to note that in extremely humid conditions, additional dehumidifying measures might be necessary to maximize effectiveness.
8. Safety Checks And Common Mistakes To Avoid
While the shaving cream method is generally safe, there are a few precautions to keep in mind. First, ensure that the shaving cream is applied evenly to avoid streaks or residue that could obscure your view.
Additionally, be cautious about using this trick on colored or tinted windows, as the ingredients in shaving cream could potentially cause discoloration. It’s always a good idea to test a small, inconspicuous area first to ensure compatibility.
9. How Long The Results Last And When To Reapply
The protective layer created by the shaving cream typically lasts for several weeks, depending on the level of humidity and temperature fluctuations in your home. In most cases, you can expect to see clear windows for about two to four weeks before reapplication is needed.
It’s a good idea to reapply the shaving cream whenever you notice the first signs of condensation returning. Regular maintenance will ensure that your windows stay clear throughout the winter season.
10. Extra Tweaks To Boost The Trick’s Effectiveness
For those living in particularly humid environments, combining this trick with other moisture-reducing strategies can enhance its effectiveness. Consider using a dehumidifier to lower overall humidity levels in your home, or place moisture-absorbing products like silica gel packs near windows.
Improving ventilation by opening windows periodically or using exhaust fans in kitchens and bathrooms can also help reduce indoor humidity, making the shaving cream method even more effective.
11. Budget And Eco Benefits Compared To Dehumidifiers
One of the main advantages of my grandma’s trick is its cost-effectiveness. A can of shaving cream is relatively inexpensive and can be used multiple times for this purpose, making it a budget-friendly alternative to electrical dehumidifiers, which can be costly to purchase and operate.
Moreover, this method requires no electricity, making it an eco-friendly option. By reducing reliance on electric appliances, you can decrease your home’s energy consumption and carbon footprint, all while keeping your windows clear.
12. When This Hack Isn’t Enough And You Need A Bigger Fix
While the shaving cream trick is highly effective for minor condensation issues, it may not be sufficient for more severe cases caused by structural problems or extremely high humidity levels. If you find that condensation persists despite repeated applications, it may be necessary to look into more permanent solutions.
Advertisement
Upgrading to double or triple-pane windows, improving insulation, or installing a whole-house ventilation system can provide long-term relief from condensation. Consulting with a professional can help identify the underlying causes and recommend appropriate measures to address them.
